Setting up a new X-ray system in your clinic is a major investment that can significantly enhance your diagnostic capabilities and improve patient care. However, the installation process involves a series of critical steps that must be followed to ensure proper functionality, safety, and compliance with regulatory standards. In this blog, we’ll provide a comprehensive, step-by-step guide to help you navigate the setup of your new X-ray system.
1. Assess the Space and Clinic Layout
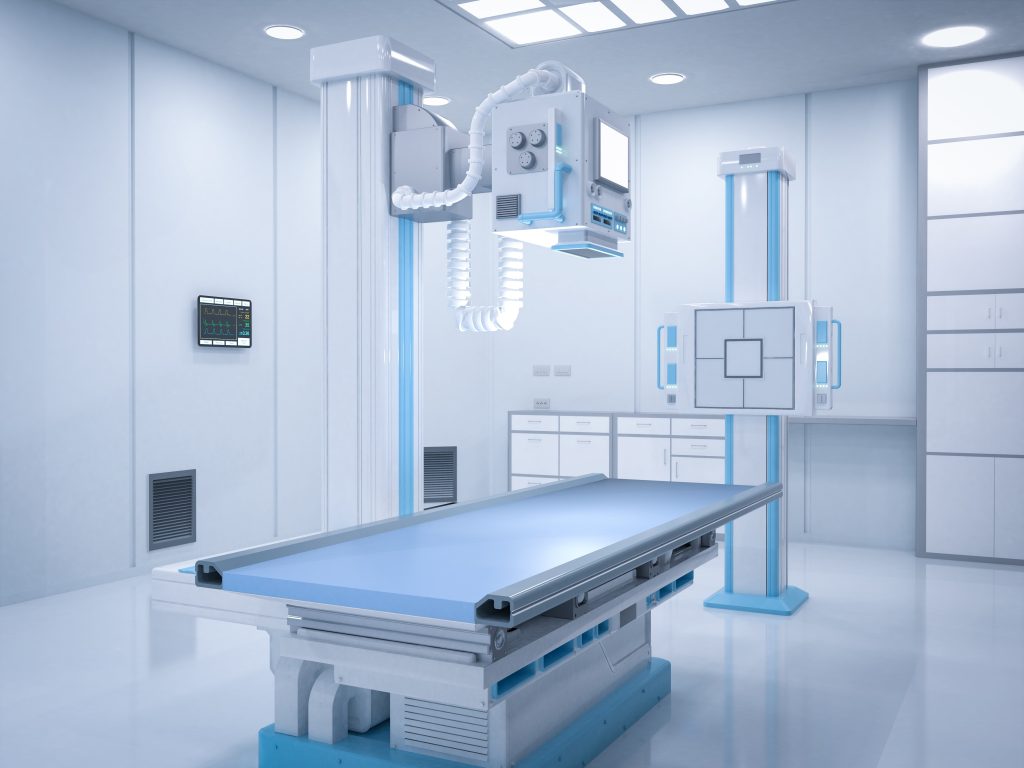
Before you even think about the equipment itself, you need to evaluate the space where the X-ray system will be installed. It’s important to choose a location that is not only spacious enough for the equipment but also complies with radiation safety guidelines. Factors like proximity to patient waiting areas, the flow of patient traffic, and ease of access for staff should all be considered.
You’ll also need to account for electrical and plumbing requirements, as well as room layout that can accommodate the X-ray machine, its console, and additional equipment (e.g., imaging monitors or storage devices). Work with an experienced clinic design team to ensure that the room is properly configured for optimal use and safety.
2. Ensure Compliance with Radiation Safety Regulations
X-ray systems produce ionizing radiation, which can be harmful if not properly contained. Radiation shielding is a critical component of X-ray room setup. Your clinic must adhere to federal, state, and local radiation safety regulations to protect both patients and medical staff. This includes proper shielding for walls, doors, and windows, as well as the installation of lead barriers or shields.
It is recommended to hire a certified radiation physicist to conduct a shielding survey before installation to ensure the room meets safety standards. The physicist will evaluate the room’s construction, calculate radiation exposure levels, and determine the appropriate shielding materials and thickness to minimize radiation exposure to non-radiology areas.
3. Select the Right X-ray Equipment
Choosing the right X-ray equipment for your clinic is essential to providing quality care. There are several types of X-ray systems to choose from, including conventional, digital, and portable systems. When selecting an X-ray machine, consider factors such as:
- Imaging Requirements: Does your clinic primarily handle general diagnostic imaging, or do you require more specialized X-ray services, such as mammography or fluoroscopy?
- Patient Volume: How many patients will you be imaging per day? High-volume clinics may require faster, more efficient systems, such as digital radiography (DR) systems.
- Budget: The initial investment and long-term maintenance costs of the equipment must align with your clinic’s budget.
- Manufacturer Support: Ensure that the manufacturer offers reliable customer support and service options in your area.
Work with an experienced medical equipment supplier or consultant to determine the best system based on your clinic’s needs and budget.
4. Install the X-ray System
Once the space is ready and the equipment has been chosen, it’s time for installation. Installation should always be carried out by trained professionals who specialize in X-ray systems. This is important not only to ensure proper setup but also to maintain safety standards. The installation team will handle tasks such as:
- Positioning the X-ray machine in the designated space.
- Connecting the X-ray system to power sources and communication networks (in the case of digital systems).
- Calibrating the system for optimal performance.
- Ensuring the system is connected to appropriate safety and monitoring devices.
The installation team should also test the system’s functionality to ensure it operates smoothly and meets all safety standards.
5. System Calibration and Quality Control
Once the equipment is installed, it’s time for calibration. Calibration is necessary to ensure that the X-ray machine produces accurate and consistent results. This process typically involves adjusting the machine to the manufacturer’s specifications, verifying that radiation output is within safe and effective limits, and confirming image clarity.
It’s essential to have a certified medical physicist conduct the calibration to ensure compliance with regulatory standards and maintain the highest diagnostic accuracy. The physicist will also perform a thorough quality control check, including evaluating image quality, radiation dose levels, and machine performance.
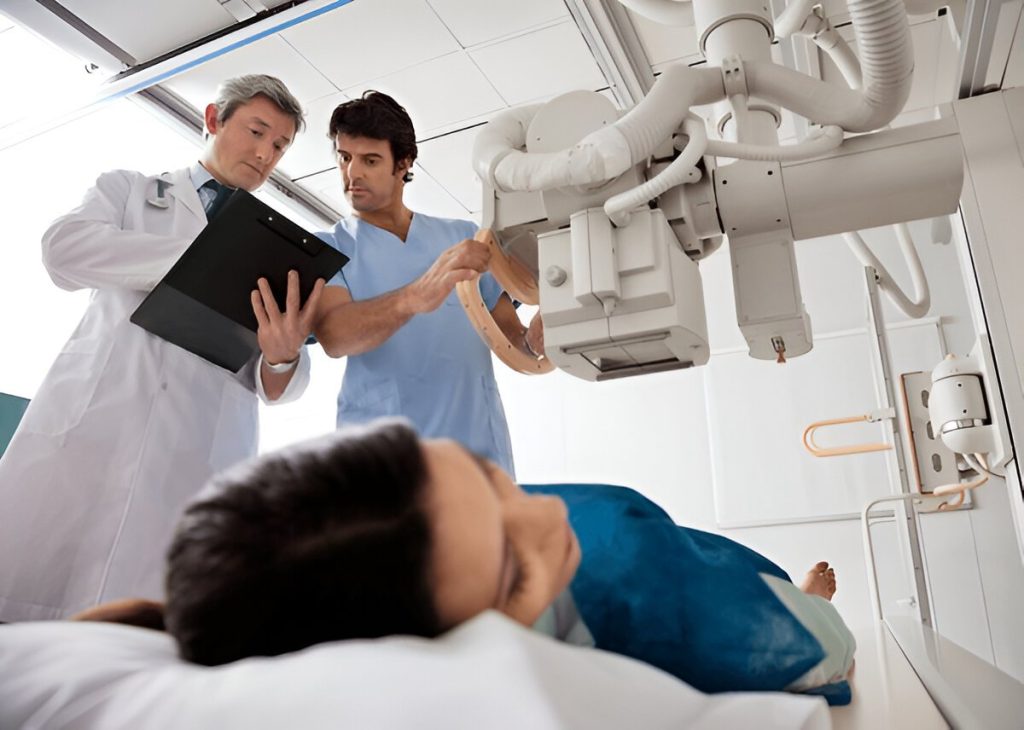
6. Staff Training
Proper staff training is essential for the safe and effective use of your new X-ray system. Radiologic technologists and other medical personnel who will be operating the equipment must be trained in proper operating procedures, radiation safety protocols, and emergency procedures.
The training program should include hands-on sessions to familiarize staff with the system’s controls, as well as instructions on patient positioning, safety precautions, and ensuring high-quality images. Regular refresher courses are also recommended to ensure staff remains up to date with the latest safety standards and operating procedures.
7. Ongoing Maintenance and Support
Once the X-ray system is installed, calibrated, and staff are trained, it’s important to maintain regular preventive maintenance (PM) to ensure the system continues to operate at peak efficiency. Preventive maintenance tasks include routine checks of system components, cleaning, calibration, and software updates.
Additionally, establish a service contract with the manufacturer or a trusted service provider for ongoing support and repairs. Having access to professional technicians can help address any unexpected issues and minimize downtime.
Wrapping Up
Setting up a new X-ray system in your clinic is an exciting but complex process that requires careful planning, adherence to safety regulations, and expert installation. From selecting the right equipment and preparing the space to proper calibration and staff training, every step is crucial to ensuring that your X-ray system provides accurate and reliable results while keeping your patients and staff safe.
By following this step-by-step guide, you can ensure a smooth and successful setup of your new X-ray system, setting your clinic up for years of high-quality, safe diagnostic imaging. If you need assistance with installation, calibration, or training, contact us at Xray Solutions to ensure your new equipment is set up and maintained to the highest standards.